


So…. YES, I saw the DIY pumpkin posts. And had envy so wanted to try it for myself. After watching a few videos, looking at some photos and reading a few Insta-stories. I came up with a game plan and jumped right in. I mean, who doesn’t want to have a Pottery Barn-esque Pumpkin pillow for CHEAP.
I found the supplies at Walmart. They had a couple of precut fabrics that were seasonal and soft and that I thought went well with my decor. I bought two fabric bundles for $8 and $4. I also picked up a bag of Polyfill for $7 and twine for $5. So my investment so far is only $24. And I can make as many pillows as I want!
I tried several different methods but to create the pumpkin shape but wanted to share my two favorite ways here.

Cut Out a Large Circle From Your Fabric.
You will then want to stitch around with the needle, going in and out, pulling it tight each time. When you go all the way around the fabric circle, you will end up with a little “pouch”. Fill the pouch with as much polyfill as you can until it is full and firm. Then cut four pieces of twine or string and bring them around the pumpkin in even sections, tying at the top, to create the pumpkin sections. Then cut a different piece of fabric to create the stem. You can assemble this with either a hot glue gun or with stitching. I did a combination of both. I used the hot glue to roll/glue the stem, then stitched it onto the pumpkin. Tip: Be careful with hot glue. It is HOT and will burn your skin off (speaking from experience).


Another way (and my preferred method): Use the arms of an old sweater. This was much faster than my first try and I thought the pumpkin was a bit cuter and had more texture. I used an old Express sweater that I hadn’t worn in years (plus we’re in South Carolina now and thick sweaters are not typically needed). It was a great fall-ish color and had some good texture. Tip: If you don’t have an older sweater you want to sacrifice, then you can most likely find one at your local thrift store for cheap.


First step is to cut off the arms. Then, cinch one of the arm ends with a rubber band tightly (and yes, I used my daughter’s pink hair band because that’s all I could find at the time. It worked like a charm!) Once the rubber band is in place, turn the arm inside out so the band is on the inside. Tip: Make sure the rubber band is as tight as possible because you don’t want it to come undone once you’re finished.

Next you will want to tuck the top of the sweater arm into itself, so it forms a ball. Then cut four strings/twine long-enough to go around the ball and tie tightly at the top. Make sure they are spaced out so they form somewhat equal sections, resembling a pumpkin. At this point, you will start to see it take shape.

Once the strings are in place, I wanted to stitch them at the bottom to hold them in position. They should be pulled pretty tightly, but this will ensure the strings/sections do not slip around. Just to be on the safe side.
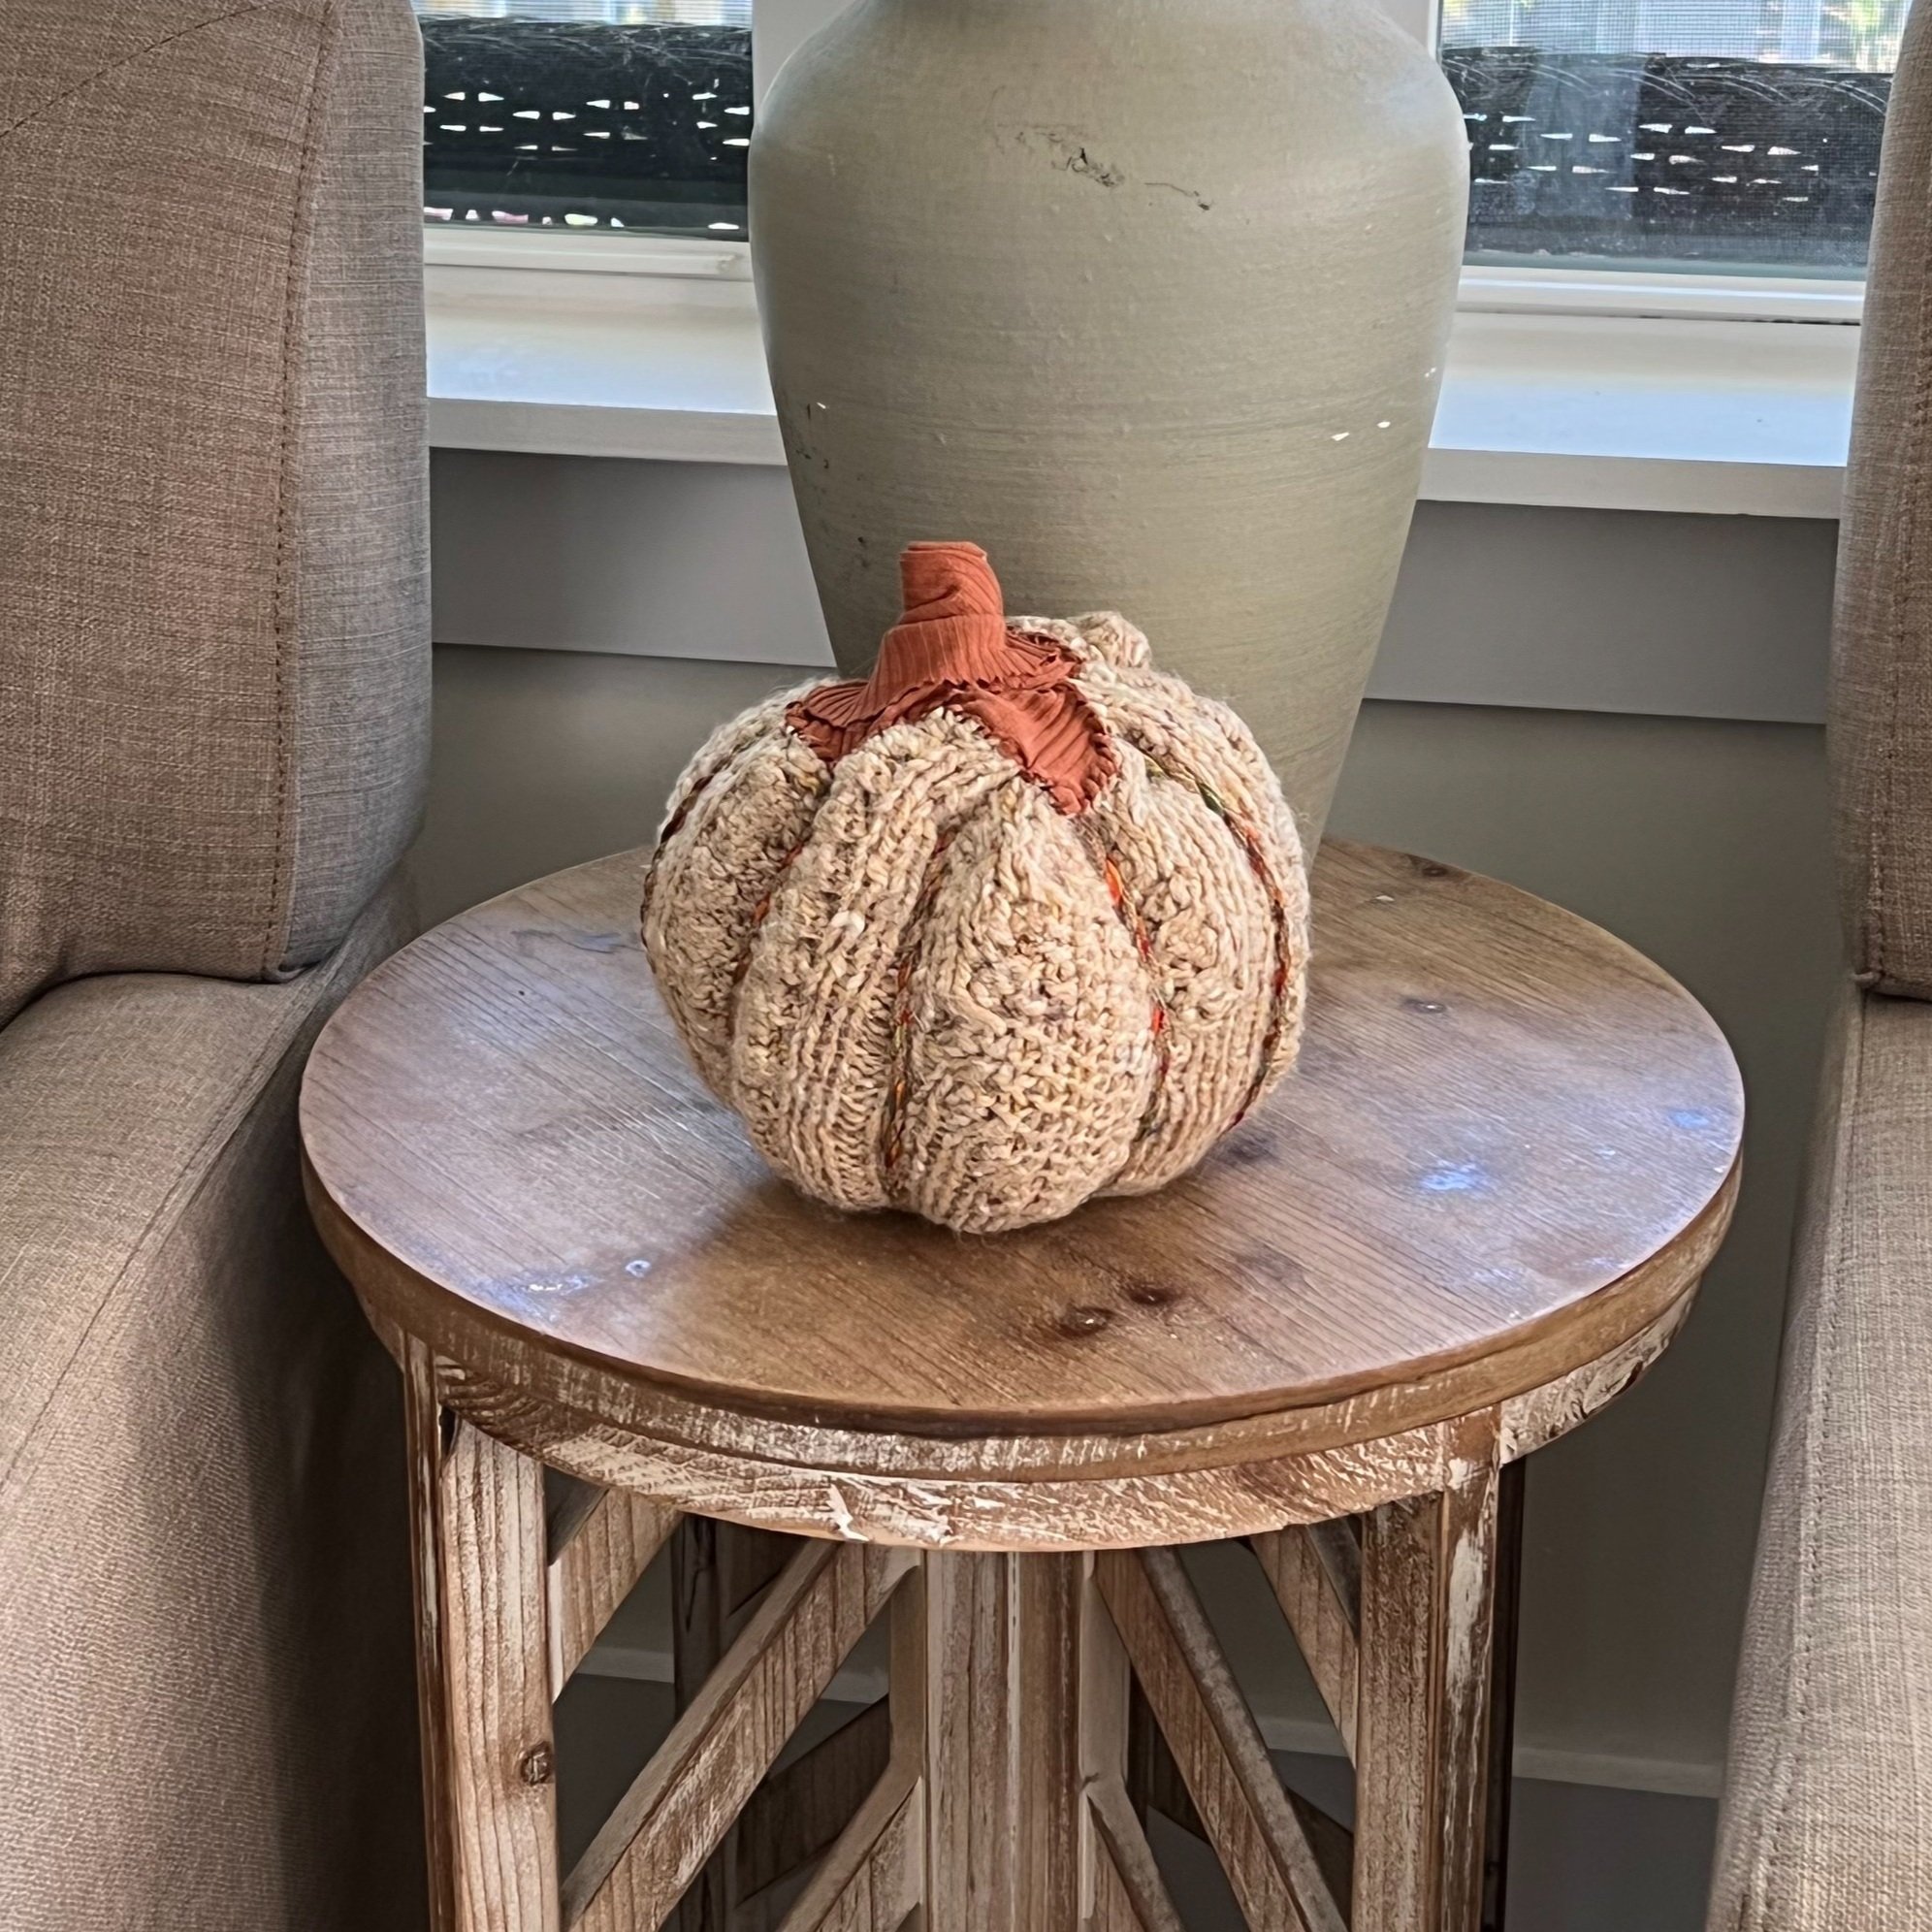
To create the stem, I roughly cut a small rectangle of fabric (different color), folded it over then wrapped it around the end of the strings at the top. I then (again) used the glue gun to hold it in place. You probably could have used the hot glue to seal the fabric down at the edges. But I decided to stitch it down to ensure it didn’t come apart, plus I could hold the fabric in the position I wanted by doing this. It created an irregular-looking stem and base, which I liked.


Isn’t she a cutie???
Comment below and let me know what you think. Or, if you’d made your own, I’d love to see it! Happy creating - just get started!
Elizabeth


